
Let me tell you something: In the time to come, efficiency will be the key factor in deciding where your business will go.
For organizations using Salesforce, automating workflows is one of the most effective ways to streamline processes, reduce manual effort, and improve productivity. Salesforce workflow automation empowers businesses to focus on strategic initiatives while the platform handles repetitive tasks.
Whether you’re a decision-maker or a Salesforce administrator, this step-by-step guide will walk you through how to automate workflows in Salesforce, share best practices, and explore strategies to maximize the value of Salesforce automation.
What is Salesforce Workflow Automation?
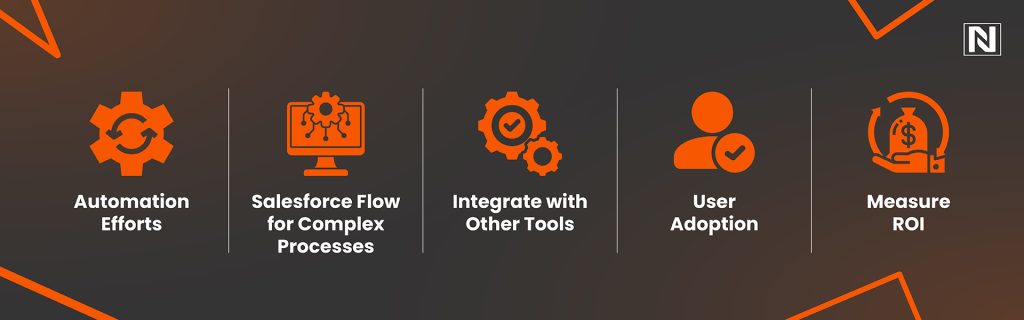
Salesforce workflow automation refers to the process of using tools like Salesforce Flow, Process Builder, and Workflow Rules to automate repetitive tasks, standardize processes, and ensure consistency across your organization.
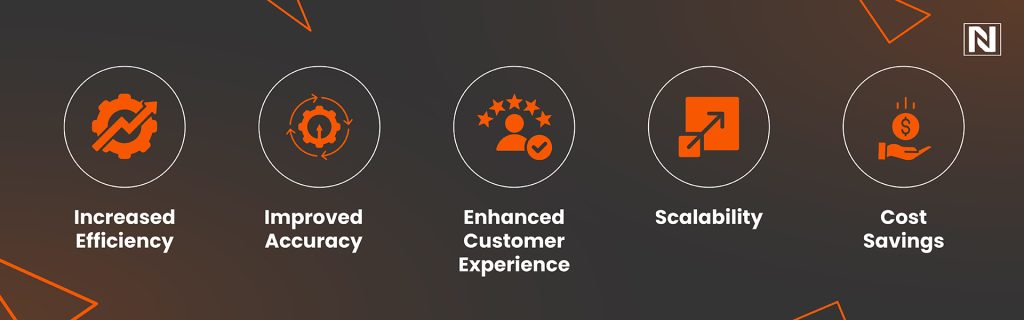
By automating workflows in Salesforce, businesses can reduce human error, save time, and enhance customer experiences.
For example, you can automate lead assignment, send follow-up emails, update records, or trigger notifications all without manual intervention. The result? A more efficient and scalable operation.
Why Automate Workflows in Salesforce?
Before diving into the “how,” let’s explore the “why.” Automating workflows in Salesforce offers several benefits:

1. Increased Efficiency: Automation eliminates repetitive tasks, freeing up your team to focus on higher-value activities.
2. Improved Accuracy: Automated workflows reduce the risk of human error, ensuring data consistency.
3. Enhanced Customer Experience: Timely responses and personalized interactions become seamless with automation.
4. Scalability: As your business grows, automation ensures your processes can handle increased complexity without additional manual effort.
5. Cost Savings: By reducing manual labor, automation lowers operational costs over time.
A Must Read – Why Choose LWC Over Aura
How to Automate Workflows in Salesforce Step by Step
Now, let’s dive into the step-by-step process of automating workflows in Salesforce. We’ll focus on Salesforce Flow, the most powerful and versatile automation tool available on the platform.
Step 1: Identify the Process to Automate
The first step in Salesforce workflow automation is identifying the right process to automate. Look for tasks that are repetitive, time-consuming, and rule-based. Common examples include:
- Lead assignment and routing
- Email notifications for specific triggers
- Updating record fields based on certain criteria
- Creating tasks or events for follow-ups
Pro Tip: Start with a simple process to gain confidence before tackling more complex workflows.
Step 2: Choose the Right Automation Tool
Salesforce offers multiple tools for automation, including:
- Salesforce Flow: A robust tool for building complex, multi-step workflows.
- Process Builder: A visual tool for automating processes with point-and-click ease.
- Workflow Rules: A legacy tool for basic automation (Note: Salesforce is gradually phasing out Workflow Rules in favor of Flow).
For most modern automation needs, Salesforce Flow is the recommended tool due to its flexibility and advanced capabilities.
Step 3: Define Your Objectives and Requirements
Before building your workflow, clearly define your objectives and requirements. Ask yourself:
- What is the goal of this automation?
- What triggers the workflow (e.g., a record update, a new record creation)?
- What actions should the workflow perform (e.g., send an email, update a field)?
- Are there any exceptions or conditions to consider?
Documenting these details will help you design a more effective workflow.
Step 4: Build the Workflow Using Salesforce Flow
Here’s how to create a workflow using Salesforce Flow:
1. Navigate to Salesforce Flow
- Go to Setup > Process Automation > Flows.
- Click “New Flow” and choose the type of flow (e.g., Record-Triggered Flow).
2. Set the Trigger
- Define when the flow should run (e.g., when a record is created or updated).
- Specify the object (e.g., Lead, Opportunity).
3. Add Conditions
- Use decision elements to define criteria for when the flow should execute specific actions.
- For example, “If the Lead Status is ‘Qualified,’ then send an email.”
4. Add Actions
- Define the actions the flow should perform, such as updating records, sending emails, or creating tasks.
5. Test and Debug
- Use the “Debug” feature to test your flow and ensure it works as expected.
- Make adjustments as needed.
6. Activate the Flow
- Once tested, activate the flow to make it live.
Step 5: Monitor and Optimize
After deploying your workflow, monitor its performance to ensure it’s achieving the desired results. Use Salesforce reports and dashboards to track key metrics, such as:
- How often the workflow is triggered
- Whether the actions are being executed correctly
- Any errors or issues that arise
Based on your findings, optimize the workflow to improve efficiency and effectiveness.
DID YOU KNOW?
To facilitate rapid deployment, Salesforce offers over 900 pre-built workflow automation templates across various industries, accessible via AppExchange.
Best Practices for Salesforce Workflow Automation
To ensure your automation efforts are successful, follow these best practices:
1. Start Small: Begin with simple workflows and gradually tackle more complex processes.
2. Document Everything: Maintain clear documentation of your workflows, including their purpose, triggers, and actions.
3. Test Thoroughly: Always test your workflows in a sandbox environment before deploying them to production.
4. Involve Stakeholders: Collaborate with end-users and stakeholders to ensure the workflow meets their needs.
5. Stay Updated: Salesforce regularly updates its automation tools, so stay informed about new features and best practices.
DON’T MISS THIS BLOG – Salesforce vs. Other CRM Solutions: What Sets It Apart?
Salesforce Automation Strategies for Businesses
To maximize the impact of Salesforce workflow automation, consider these strategies:

1. Automation Efforts: Designate a team or individual to oversee automation initiatives and ensure consistency across the organization.
2. Salesforce Flow for Complex Processes: Use Flow to handle multi-step processes that require advanced logic.
3. Integrate with Other Tools: Connect Salesforce with third-party apps and tools to extend the functionality of your workflows.
4. User Adoption: Train your team on how to use and benefit from automated workflows to drive adoption.
5. Measure ROI: Track the time and cost savings achieved through automation to demonstrate its value to stakeholders.
Conclusion
Automating workflows in Salesforce is a game-changer for businesses looking to improve efficiency, accuracy, and scalability. By following this step-by-step guide, leveraging Salesforce Flow, and adhering to best practices, you can unravel the full potential of Salesforce workflow automation.
As decision-makers, investing in Salesforce automation is not just about saving time, it is about empowering your team, delighting your customers, and driving long-term business success. So, take the first step today and start automating workflows in Salesforce to transform the way your organization operates.
Why Nirvana Lab is Your Best Bet for Salesforce Workflow Automation
At Nirvana Lab, we don’t believe in one-size-fits-all solutions. Our Salesforce workflow automation is customized to align with your specific business needs, ensuring maximum efficiency and scalability. From advanced process automation to intelligent data routing, we design workflows that reduce complexity, enhance collaboration, and improve customer interactions.
With our expertise, your Salesforce platform evolves into an intuitive, self-operating system that drives real business impact. Let’s build automation that works for you, not against you.